Ingesting data from Google Sheets
In this module you will ingest two datasets into the Data Platform from Google Sheets. This will involve creating an AWS Glue job using Terraform as well as GitHub for making changes to the Data Platform code repository. Once your changes have been approved by the Data Platform team, you will then crawl the loaded data, to then be able to view and query it in AWS Athena, a database-like web client.
Step-by-step instructions
Please ensure that Training Module: Getting started with training is completed before starting this module.
1. Preparing the Google Sheet for this exercise
Make a copy of this Covid vaccination data and name the Google Sheet as covid_vaccination_data in your own Google Drive. We are going to use the tabs locations and vaccinations.
2. Granting the Data Platform access to your new Google sheet
We have created a sandbox department in the Data Platform, and an associated Google service account: sandbox@dataplatform-stg.iam.gserviceaccount.com
- The Data Platform will use this account to connect to your Google sheet.
- Use the sharing settings of your sheet and grant “Viewer” permissions to this user.
- Detailed steps are in the Playbook.
3. Creating two ingestion jobs in Terraform
Your Google sheet is going to be ingested by a job running in AWS Glue. We often just refer to AWS Glue as 'Glue'.
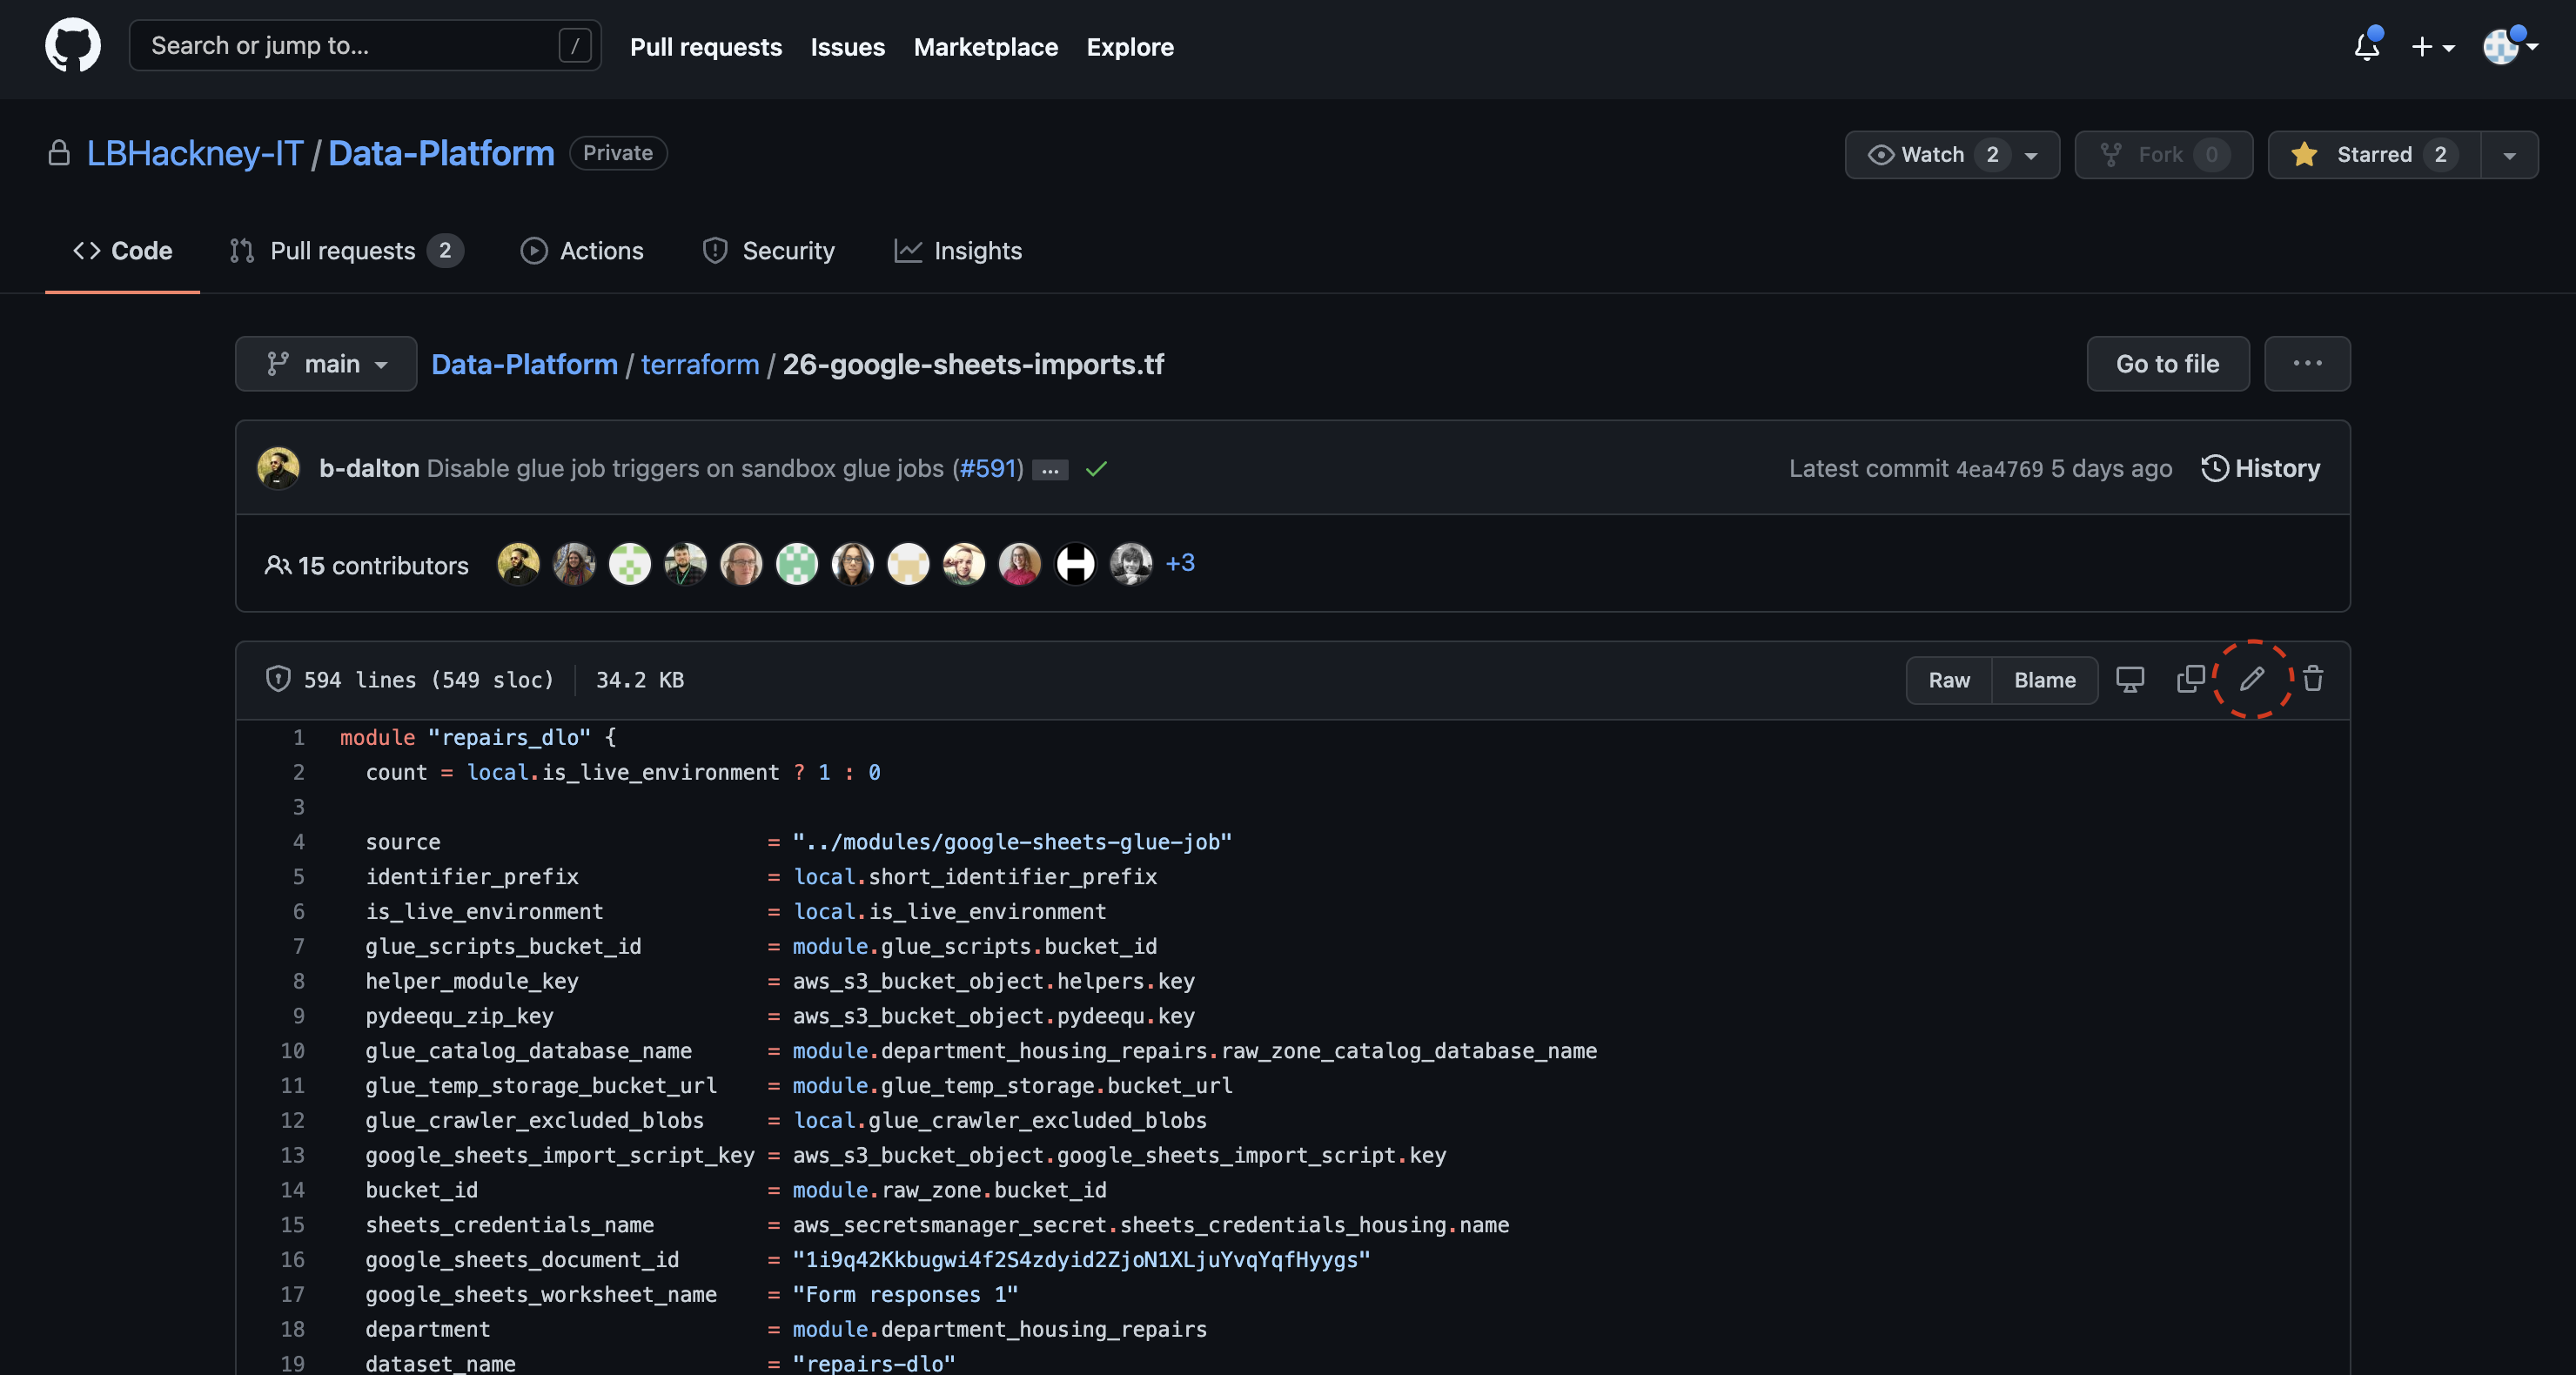
You will write a bit of Terraform that will deploy this job automatically in the AWS environment. You are going to write this code directly in your web browser in GitHub here, adding to the existing terraform script 26-google-sheets-imports.tf.
You could also write the job locally within your interactive development environment, but editing via the GitHub web interface will be easier in this case as you won't need to clone the repository.
You will need to create two modules within the Terraform script as we are ingesting two datasets from Google spreadsheet:
- locations
- vaccinations
i. Go to the Playbook to view detailed steps on how to create a Terraform module.
Additionally, please complete the following steps:
ii. Your department name will be sandbox for the purpose of the training e.g. module.department_sandbox.
iii. Suffix your new Terraform module name with the department sandbox and your_name so that each participant’s job will be easily identifiable. The module name will need to also reflect the individual dataset so make sure that the dataset name is also included within the module name e.g. sandbox_joe_bloggs_covid_vaccinations.
iv. Prefix the dataset_name with your name e.g joe_bloggs_covid_vaccinations.
v. No schedule is required as this is a one-off import, so this line does not need to be included within the module.
4. Getting your jobs deployed to the Data Platform
The next step is to commit your changes to the Data Platform GitHub repository. Follow the instructions here on how to do this.
Create a Pull Request (PR) for the changes to the Terraform script that you have just made. Two approvals are required before your code can get merged into the main branch of the Data Platform repository. If you know the names of your reviewers, you can send them the URL of your PR to speed up the process.
Once you have received confirmation that two reviewers have approved your PR, go back to GitHub and merge your code. This will deploy your job out to Data Platform Pre-Production environment. This only happens once. From that point onwards, you will be able to see it in the AWS console, and it will run on schedule or manually, depending on how it was configured in Terraform.
⚠️ There will be a 10-15 minute delay whilst the code deployment takes place. You can take a break or look at a ready-made job in the interim. To check the status of your deployment, navigate to the Actions tab in the GitHub web interface.
In everyday use you may not need the data to be immediately available, in which case steps 5-6 would be picked up by the scheduled daily jobs, provided a schedule is specified in the Terraform module.
Log in to AWS as the DataPlatformSandboxStg role via the Management Console for that role.

5. Finding and running your jobs in the AWS console
💡 You can search for AWS tools like Glue, Crawlers etc. using the toolbar. If you cannot find a job or crawler check the region is London in the top right of the screen.
Your jobs should now be available within Glue Studio. They will be named like stg Google Sheets Import Job - department-dataset-yourname.
⚠️ If you are waiting for code deployment to complete, then look for
stg Google Sheets Import Job - sandbox-daro-covid-locationsandstg Google Sheets Import Job - sandbox-daro-covid-vaccinationsjobs instead.
Once you have selected a Glue job, you can run it by clicking Run job
To monitor the progress of your Glue job run, click through to the Glue job and navigate to the Runs tab.
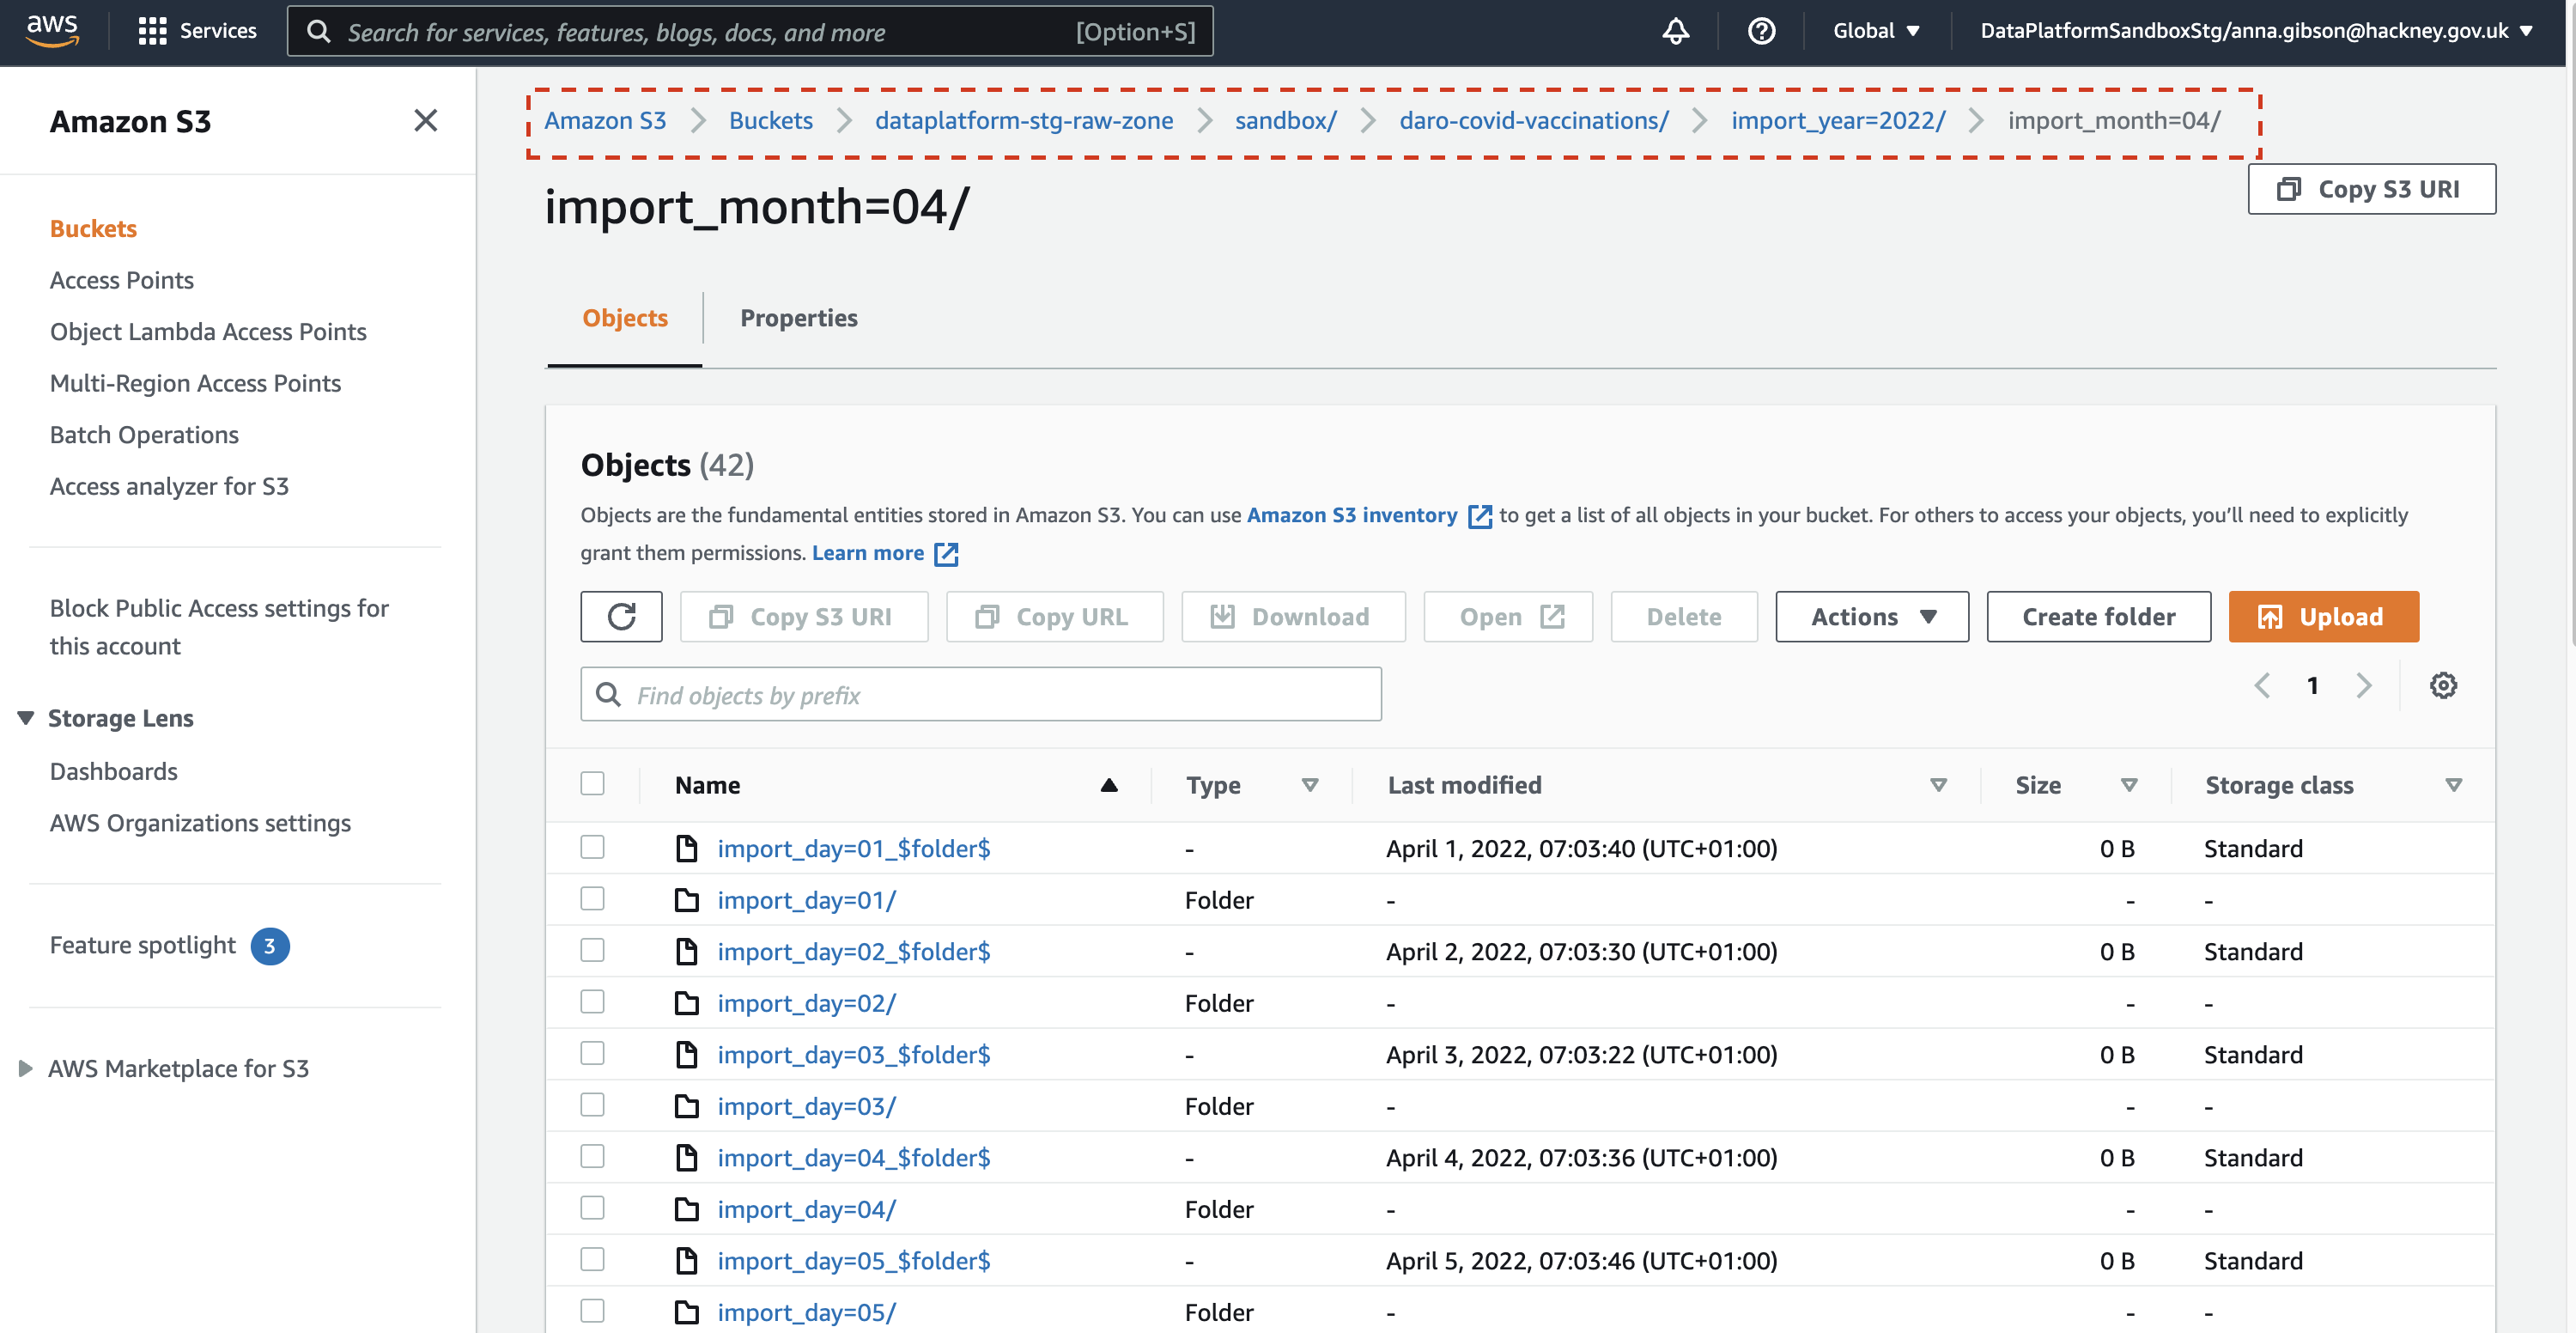
It is sometimes helpful to check the specific output S3 bucket for a job to see if it has run; the parquet files will be partitioned by date.
You can find the data by navigating to the location highlighted in the screenshot below but using your job name instead of daro-covid-vaccinations.
You should see data for today's date under the job you have run.
6. Crawling the ingested data to make it available in the Glue catalogue.
Crawling is the mechanism used to populate the Glue Data Catalog so that data is made visible in Athena by picking up the column names and data types.
- Once the Glue jobs have successfully run, go ahead and run the crawlers that were created as part of the import job.
You can use the AWS search bar to locate the Crawlers page.
To search for your Crawler, click on the search box and then select the
Namefilter and enter the name of your Crawler, and clickRun crawler.
7. Viewing and querying the data in Athena
i. Check the data in AWS Athena, the interface to view and query data from the Glue Catalogue.
ii. Open the Query editor.
iii. Make sure workgroup is set to sandbox and you are using the sandbox-raw-zone database.
Run a simple query in Athena against your tables created or updated by the crawlers.
(Make a note of the names of your tables as you will need them for Module 2).
You can generate a SQL preview query by selecting the three vertical dots by the table name and select Preview Table to see the top 10 lines.
The dialect of SQL used in Athena is Presto SQL.
iv. You should now be able to repeat steps 5-7 for the job that you created as the code should now have been deployed into to main Data Platform repository.
🙌 Congratulations! You have completed Module 1!